Colouring your hair can be a big undertaking—it costs a lot of money, takes a large chunk of time and requires maintenance. But does that mean you have to make do with a less-than-perfect mane till your bank account allows it? Not really. Not if you’re willing to put in the work yourself, that is. While it is advisable to consult an expert before changing your hair colour, some find the comfort of doing it in their own bathrooms much more appealing. “At our salons, we have a lot of clients that do not always have the time to come in and get their colour done,” reveals Mumbai-based hairstylist Savio John Pereira. “We normally educate them on the best way to colour their hair at home to get the best results,” he says. We spoke to Pereira and and Sonali Bhimani, style director, Jean-Claude Biguine, about their top tips for those who are looking to change their hair colour by themselves at home.
1) If you’re making a big change, go to the salon
“There’s much more to hair colour than simply running it through your hair,” cautions Bhimani. A hairstylist usually assesses a whole host of conditions before painting on the colour. “First and foremost, the health of the scalp and hair is to be evaluated. What you see on the shade card is not always what you achieve. Factors like natural base, level of lift, strength of peroxide, percentage of greys, previous colour (if any) and porosity of hair are to be taken into consideration,” explains Bhimani. “Be wary of colouring already coloured hair, especially if you have streaks or ombre, or more than two tones already present in the hair,” she warns. If you’re going more than two or three shades darker or lighter, you’ll want to leave it to a professional.
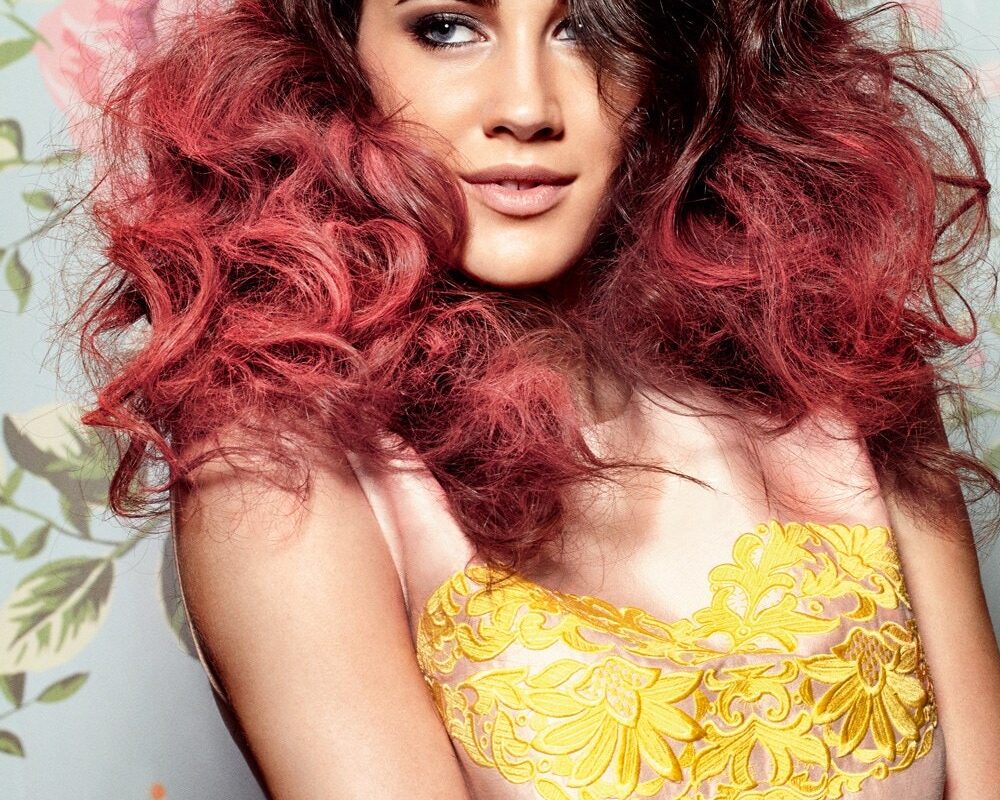
2) Choose the right hair colour
At-home hair dyes usually have a shade guide on the box that you can match to your natural hair colour. The number tells you how dark the pigment will be. Hair dye is described on a scale from 1 (black) to 12 (platinum blonde), so the lower the number, the deeper the shade. If you’re a neophyte, Pereira suggests consulting with a professional to double check if your chosen colour will work for you. “For example, if you need to cover greys, a base colour with a certain colour reflect will not give you 100 per cent grey coverage if the reflect colour is more than the base colour. Plus, it will make the hair translucent,” he explains. Stylists suggest finding a box with your exact shade match, and then picking a box two shades to the left or right for best results. They also always suggest buying an extra box—you don’t want to have half your hair coloured, only to then realise that you don’t have enough to complete the job.
3) Use all the precautions you can
The most important thing to do before you colour is to make sure you’re not allergic to any of the ingredients in your hair colour, like ammonia. And the easiest way to do that is with a skin sensitivity test. “Apply a tiny amount of the hair colour behind your earlobes, between your neck and on your ear. You can apply 1ml or even lesser than that, and keep it for 24 hours to rule out an allergy,” says Pereira. Doing a strand test can ensure you know exactly how the colour will react. Colour a couple of strands of hidden or trimmed hair before you commit, to eliminate the possibility of your hair turning orange (it can happen!) or looking too brassy.
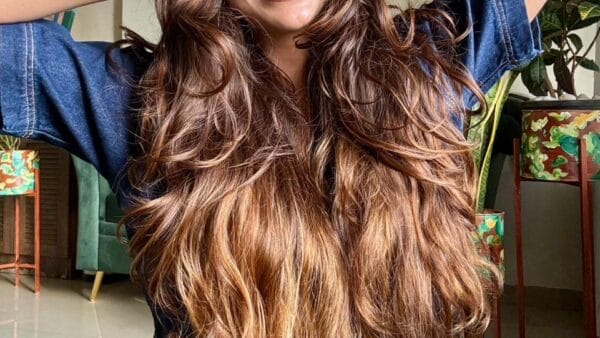
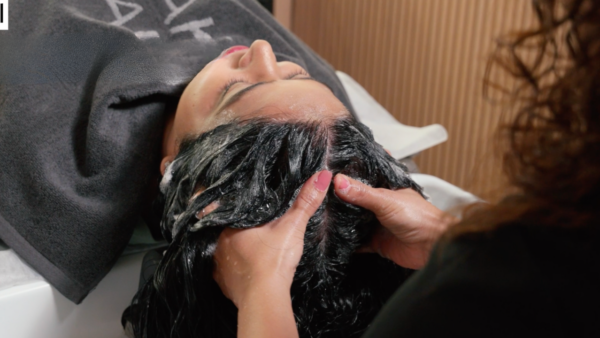
4) Prep hair for success
Most stylists suggest that you don’t wash your hair for at least three days before you colour it—the natural oils will help protect the scalp from chemicals in the dye. Brushing the hair out and ensuring that there are no knots or tangles will maintain an even coverage as well. Pereira also claims that applying Vaseline to the neckline and ear lobes will reduce the chances of staining skin. After the timer dings, washing your hair with a colour protecting shampoo and then deep-conditioning it is very important.
5) Follow all the instructions on the hair colour box
All brands and colours will have their own set of dos and don’ts, so read the fine print on the box very carefully. After you mix up your dye (likely a balance of colour and developer), use a pair of gloves and brush to start applying it to your roots. Colouring in sections (five or six sections separated by clips) can ensure a fuller, more even layering. Start by applying the dye slightly below the scalp level and work towards the ends. Applying dye to the back sections and moving to the front generally works best.